1.svg)
 CALL US FOR FREE QUOTE


 Blog
Blog About us
 1.svg) Contact
Contact.svg) Bookings
Bookings Cleaning address
 Requisites (for business)
 1.svg) Contact details
Contact details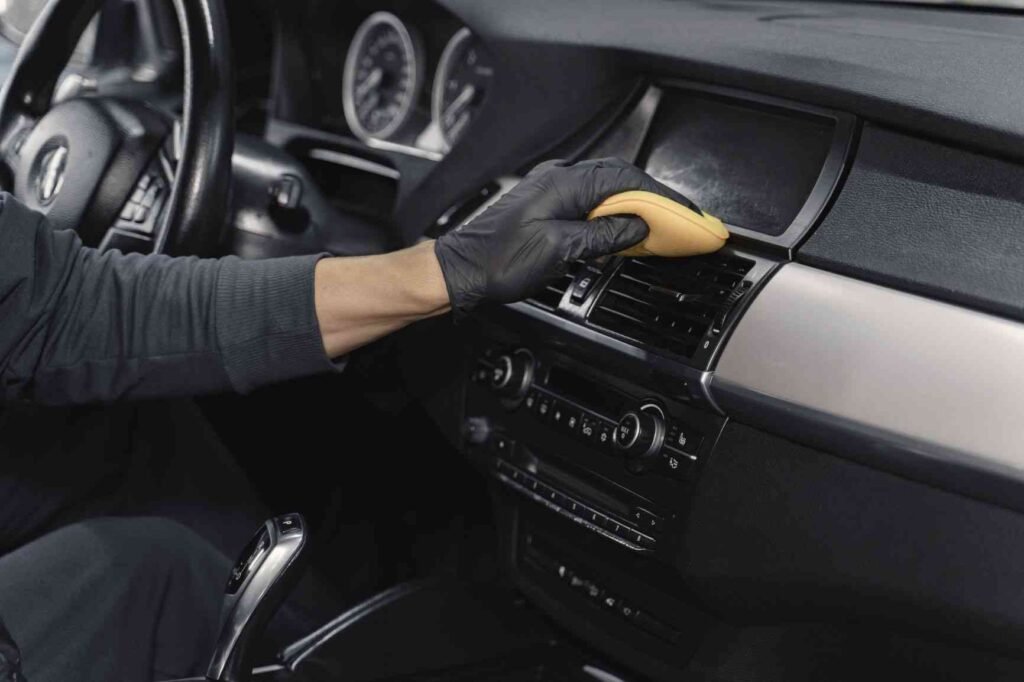
How to Properly Clean Your Car Interior Like a Pro
Ah, the car. Our trusted companion on road trips, morning commutes, and weekend errands. No matter how much we try to keep it pristine, over time, dust, dirt, and mysterious stains begin to settle. From leftover coffee spills to the occasional food crumb, it’s easy for things to get out of hand. But don’t worry, I’m here to show you how to give your car’s interior the love it deserves with a thorough, professional-style cleaning.
If you’re:
- Struggling to remove stains from your car seats,
- Battling dust on the dashboard,
- Wondering how to keep your interior looking fresh,
Then this guide is for you. Ready to roll up your sleeves and get started? Let’s dive in!
Why Should You Clean Your Car’s Interior Regularly?
Let’s be real – a clean car just feels better. But it’s not just about aesthetics. Regularly cleaning your car’s interior extends the life of your upholstery, carpets, and dashboard, while also improving air quality inside. Dirt, grime, and dust can wear down materials over time, and an unclean interior can lead to lingering odors and even mold growth if spills aren’t addressed quickly.
In short: a clean car isn’t just nice to look at – it’s good for your health and wallet.
Step-by-Step Guide to Cleaning Your Car Interior
1. Clear Out the Clutter
First things first: it’s time to remove all the random items that have accumulated in your car. Whether it’s old receipts, reusable shopping bags, or forgotten water bottles, clear everything out. You’ll have a fresh, clutter-free space to work with, making the actual cleaning process much easier.
Pro Tip: Check under the seats and in cup holders for any loose change or forgotten treasures that may have slipped through the cracks!
2. Vacuum the Entire Interior
Now that the clutter is gone, it’s time to break out the vacuum. If you’ve been avoiding this step because of the awkward corners and tight spaces in your car, don’t worry! With the right attachments, you can reach even the most hidden crumbs.
- Start with the seats and carpets: Use a brush attachment to loosen any dust or dirt stuck to the fabric. Be sure to get into the crevices between the seats.
- Move to the mats: Remove them from the car and give them a good shake before vacuuming. This will get rid of loose dirt and debris.
- Don’t forget the dashboard and vents: Dust and dirt love to settle here. Use a soft brush attachment to vacuum these areas without scratching the surface.
Pro Tip: If you have pet hair stuck to your seats, try using a rubber glove to rub the upholstery before vacuuming. The hair will cling to the glove, making it easier to remove.
3. Wipe Down the Hard Surfaces
Dashboards, center consoles, and door panels collect dust, fingerprints, and sometimes that mysterious sticky residue. Grab a microfiber cloth and an all-purpose cleaner, and gently wipe down all the hard surfaces. Pay extra attention to areas that are touched often, like the steering wheel and gear shift.
Be cautious with cleaners: Avoid any products containing ammonia, as they can damage your car’s interior materials. Stick to mild, car-safe cleaners or a simple mix of warm water and mild dish soap.
4. Clean the Car Seats Based on Material
Here’s where things can get tricky. Different materials require different cleaning methods, so make sure you know what you’re working with before you dive in.
For Cloth Seats:
- Use a fabric cleaner or mix a solution of warm water and dish soap.
- Apply the cleaner with a spray bottle and scrub the fabric with a soft brush or cloth.
- Blot the area with a dry towel to absorb moisture and allow the seats to air dry.
For Leather Seats:
- Wipe the seats with a damp cloth to remove surface dust.
- Use a leather cleaner or a mixture of water and a small amount of vinegar.
- After cleaning, apply a leather conditioner to keep the material soft and prevent cracking.
Pro Tip: Always do a patch test before applying any cleaner to a large area of your seats, especially if you’re using a new product. This helps ensure that the cleaner won’t discolor or damage the fabric.
5. Tackle the Carpets
Much like your home’s carpet, car carpets can accumulate a lot of dirt and stains over time. Whether it’s coffee spills or muddy shoes, there’s no need to panic. Here’s how to clean them:
For Basic Dirt and Stains:
- Start by sprinkling baking soda over the affected area. Let it sit for a few minutes to absorb any odors.
- Vacuum up the baking soda, then treat any visible stains with a mixture of water and mild dish soap. Use a soft brush to scrub the area.
For Tough Stains:
- Mix a solution of vinegar and water (1:2 ratio). Spray the mixture on the stain and scrub with a cloth or brush.
- Let it sit for a few minutes before blotting with a clean towel. Repeat the process until the stain is gone.
Pro Tip: If you spill something in the car, clean it up right away to prevent stains from setting. The quicker you act, the easier it will be to remove.
6. Clean the Windows
Clean, streak-free windows are essential for visibility and overall aesthetics. Use a dedicated glass cleaner or a mixture of vinegar and water to wipe down both the interior and exterior of your car’s windows.
How to avoid streaks:
- Spray the cleaner directly onto a microfiber cloth (not the window itself) to avoid drips.
- Wipe in circular motions, then finish with vertical strokes for a streak-free shine.
7. Freshen Up the Air
Now that your car is clean, it’s time to make it smell as good as it looks. Here are a few options:
- Baking soda: Sprinkle some on the seats and carpets, let it sit for a few hours, then vacuum it up to absorb odors.
- Essential oils: Add a few drops of your favorite essential oil to a cotton ball and place it under the seats for a natural, long-lasting scent.
- Air fresheners: There are plenty of car-specific air fresheners available in a variety of scents.
Pro Tip: Keep a small bag of activated charcoal in the car to naturally absorb odors over tim
DIY Hacks for Common Car Cleaning Problems
Here are a few quick DIY solutions for common car cleaning issues:
- Foggy headlights: Rub a small amount of toothpaste on the headlights with a soft cloth, then rinse with water. The mild abrasive helps remove oxidation and restores clarity.
- Sticky cupholders: Pour warm water and dish soap into the cupholders and scrub with an old toothbrush. For tough residue, let the solution soak for a few minutes before scrubbing.
- Pet hair: Rub a pumice stone or a rubber glove over your seats to lift stubborn pet hair before vacuuming.
When to Call in the Professionals
While DIY cleaning works wonders for regular maintenance, sometimes a professional touch is needed – especially for deep stains, heavy dirt buildup, or delicate fabrics that require special care. Professional detailers use advanced techniques like steam cleaning or hot water extraction to give your car a showroom-ready finish.
If you don’t have the time or equipment to give your car the thorough cleaning it needs, consider booking a professional service. You’ll be amazed at how fresh and rejuvenated your car will feel afterward.
Final Thoughts
A clean car interior makes every drive more enjoyable, and it’s easier to maintain than you might think. By following these steps, you can give your car a professional-level clean from the comfort of your driveway. Whether you’re tackling dirt on your dashboard, stains on the seats, or odors that just won’t go away, these tips will help you keep your car looking and smelling fresh.
So, next time you notice a little dirt buildup or a spilled drink, you’ll know exactly what to do. Happy cleaning!