1.svg)
 CALL US FOR FREE QUOTE


 Blog
Blog About us
 1.svg) Contact
Contact.svg) Bookings
Bookings Cleaning address
 Requisites (for business)
 1.svg) Contact details
Contact details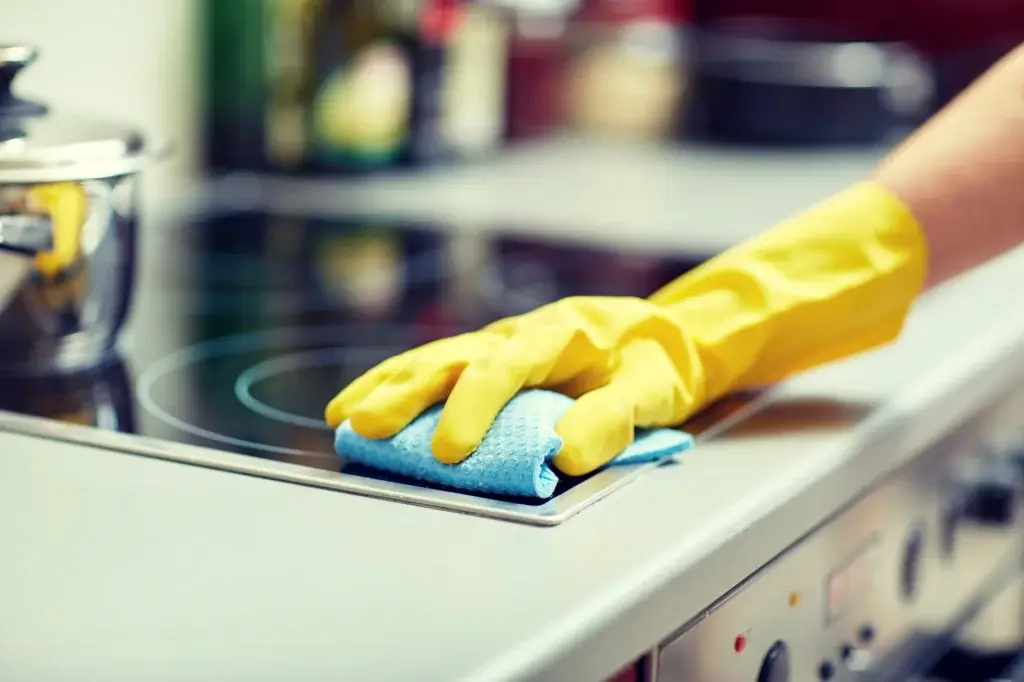
How to Clean Your Kitchen: A Complete Guide
The kitchen is often the heart of the home, where meals are prepared and memories are made. However, it can also become a hotspot for mess and grime if not cleaned regularly. A clean kitchen not only looks inviting but also ensures a healthier cooking environment. In this guide, we’ll provide you with a step-by-step approach to cleaning your kitchen, from surfaces to appliances, along with tips to maintain cleanliness.
Why Clean Your Kitchen?
Cleaning your kitchen is essential for several reasons:
- Health and Safety: A clean kitchen helps reduce the risk of foodborne illnesses by minimizing bacteria and germs that thrive on dirty surfaces.
- Enhanced Aesthetics: A sparkling clean kitchen is visually appealing and creates a pleasant environment for cooking and gathering.
- Efficiency: Keeping your kitchen organized and clean can improve your cooking efficiency, making meal prep easier and more enjoyable.
- Longevity of Appliances: Regular cleaning helps extend the life of kitchen appliances by preventing the buildup of grime and grease.
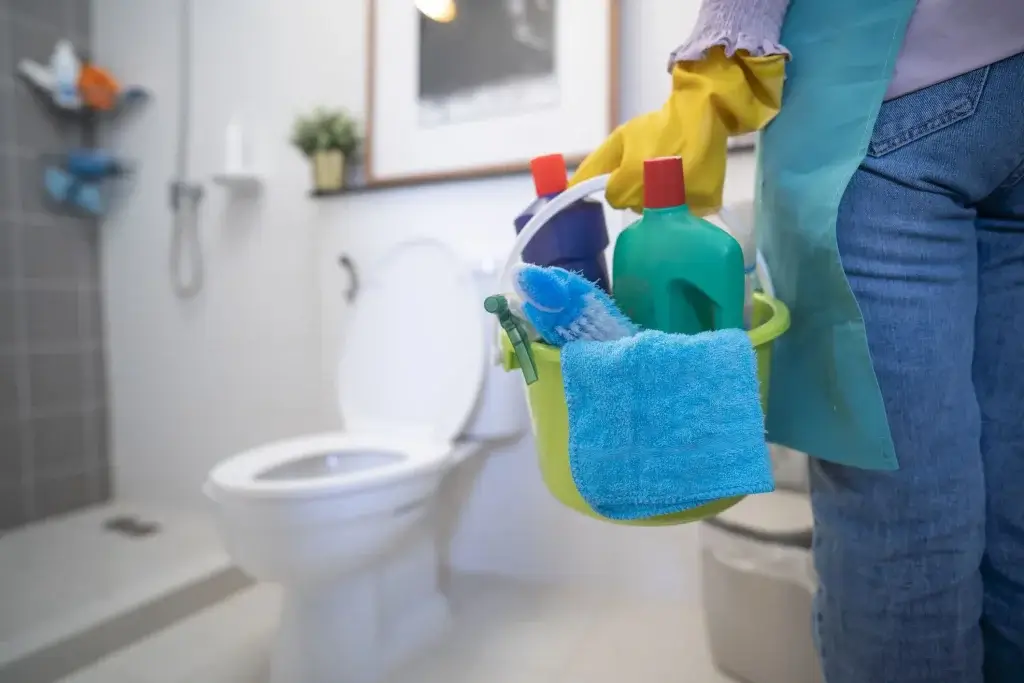
Essential Cleaning Supplies
Before diving into cleaning, gather the following supplies to make the process smoother:
- All-Purpose Cleaner: For general surfaces and countertops.
- Disinfectant Spray: To kill germs on high-touch surfaces.
- Baking Soda: For scrubbing and deodorizing.
- White Vinegar: A natural disinfectant and deodorizer.
- Microfiber Cloths: For wiping surfaces without leaving lint.
- Scrub Brush: For tackling tough stains and grime.
- Dish Soap: For washing dishes and greasy surfaces.
- Sponges: For scrubbing dishes and surfaces.
- Mop and Bucket: For cleaning the floor.
- Gloves: To protect your hands during cleaning.
Step-by-Step Kitchen Cleaning Guide
1. Declutter the Kitchen
Start by removing any items that don’t belong in the kitchen:
- Clear Counters: Remove small appliances, utensils, and other items from countertops to create space for cleaning.
- Put Away Food Items: Store any perishable food items in the fridge or pantry.
- Organize Items: Take this opportunity to organize your kitchen drawers and cabinets. Toss out expired items and donate what you no longer need.
2. Clean Surfaces
Once the kitchen is decluttered, move on to cleaning surfaces:
- Countertops: Spray an all-purpose cleaner on the countertops and wipe them down with a microfiber cloth. For stubborn stains, sprinkle baking soda and scrub gently before wiping clean.
- Tables: Don’t forget to clean your dining table. Use a disinfectant spray to ensure it’s free of germs.
- Cabinets: Wipe down cabinet doors with a damp cloth and mild detergent, especially if they’re greasy.
3. Tackle the Sink
The kitchen sink can harbor bacteria and grime, so give it some extra attention:
- Empty the Sink: Remove any dishes and food debris from the sink.
- Scrub the Sink: Use a sponge and dish soap to scrub the sink, paying attention to the faucet and handles. Rinse thoroughly with warm water.
- Disinfect: After cleaning, spray a disinfectant on the sink and let it sit for a few minutes before rinsing again.
4. Clean Appliances
Your kitchen appliances can accumulate dirt and grime, so make sure to clean them:
- Refrigerator: Empty the fridge, check for expired items, and wipe down shelves with a mixture of vinegar and water. Don’t forget to clean the exterior, including handles.
- Microwave: Fill a microwave-safe bowl with water and lemon slices. Microwave on high for 5 minutes to steam clean the interior. Wipe down with a cloth afterward.
- Stove and Oven: Remove burners and knobs (if applicable) and soak them in warm, soapy water. Clean the stovetop with an all-purpose cleaner and scrub away any grease. For the oven, use a specialized oven cleaner or a baking soda paste to tackle stubborn stains.
- Dishwasher: Run an empty cycle with a cup of vinegar placed on the top rack to deodorize and clean.
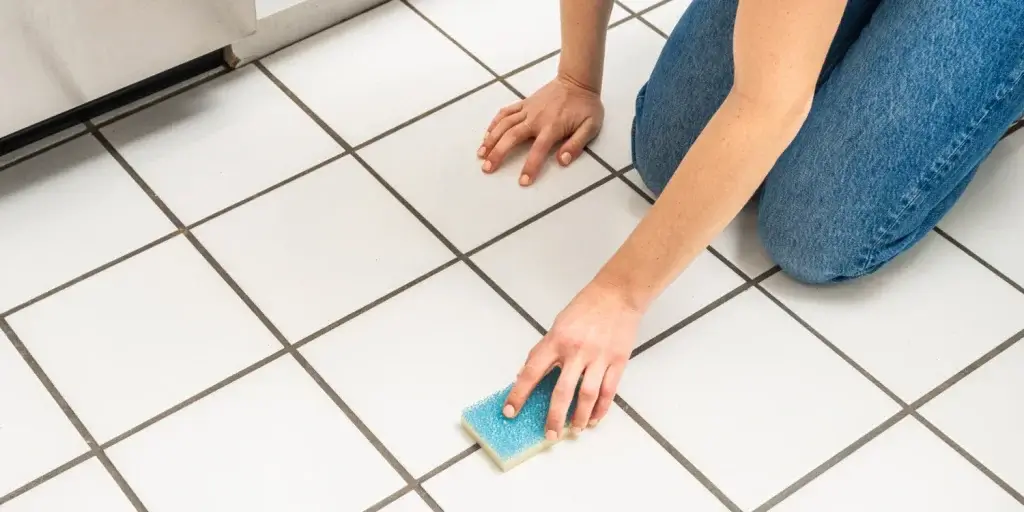
5. Floors
Now it’s time to tackle the floor, which can often be neglected:
- Sweep or Vacuum: Start by sweeping or vacuuming the floor to remove crumbs and debris.
- Mop: Prepare a bucket with warm water and a suitable floor cleaner. Mop the floor, paying attention to corners and under cabinets.
6. Final Touches
After deep cleaning your kitchen, add the finishing touches:
- Clean Windows: Wipe down kitchen windows with glass cleaner for a streak-free shine.
- Dust Light Fixtures: Use a damp cloth to wipe down light fixtures and ceiling fans.
- Replace Items: Put back small appliances and items that were removed during the decluttering process. Consider arranging them for optimal use and aesthetics.
Tips for Maintaining a Clean Kitchen
Keeping your kitchen clean doesn’t have to be a chore. Here are some tips to maintain cleanliness between deep cleans:
- Daily Cleaning Routine: Spend a few minutes each day wiping down surfaces, washing dishes, and taking out the trash.
- Meal Prep Clean-Up: Clean as you cook. This means washing utensils and surfaces after use to prevent buildup.
- Regular Decluttering: Regularly assess your pantry and cabinets for expired items and donate what you don’t need.
- Set a Cleaning Schedule: Create a weekly or monthly cleaning schedule to ensure all areas of your kitchen receive attention regularly.
Fun Fact: The History of Kitchen Cleaning
Did you know that the concept of kitchen cleaning dates back to ancient civilizations? The Romans had complex plumbing systems and public baths, emphasizing hygiene and cleanliness long before modern cleaning products existed!
Enjoy Cooking in Your Clean Kitchen
A clean kitchen is a joy to cook in and can inspire creativity in meal preparation. By following these steps and maintaining a cleaning routine, you can ensure that your kitchen remains a welcoming space for cooking and gathering.